I've gotten a few requests for my gluten-free bread recipe, and I've decided the time has come for me to share it with you all! I've taken two years to modify and perfect it, and finally have it set in such a way that its ready for its big debut! :)
I'll share some photos with you of the process so you can see what I mean when I explain certain steps. (That will come later). For now, here's the recipe and some tips to go along with it.
If you have any questions, please feel free to email me! Buckwheat Sandwich Bread
Yield: one 8" x 4" loaf
Ingredients:
83 g buckwheat flour
88 g tapioca starch
44 g white rice flour
70 g brown rice flour
52 g certified gluten-free oat flour
11 g active dry yeast
8 g xanthan gum
8 g kosher salt
6 g baking powder
3/4 tsp ground flaxseed
66 g white granulated sugar
302 g water (heated to 115 °-120°F)
1.5 eggs (at room temperature)
37 g canola oil
Method of Preparation:
1. Read through the recipe, gather all your ingredients in the correct amounts.
2. Place the buckwheat flour through the sugar into the bowl of a stationary mixer fitted with a paddle.
3. Mix together the dry ingredients until they are well blended.
4. While mixing on low speed, add the water (heated to the correct temperature), the eggs, and the canola oil to the dry ingredients. Once the ingredients are combined, turn the mixer speed up to medium and mix for one minute.
5. Place the dough into a greased 8" X 4" loaf pan, use a mixing spatula to gently, but firmly spread the dough evenly in the pan and cover with plastic wrap. At this point, preheat the oven to 375°F (unless your oven takes an extremely long time to heat up, then start it up earlier!). When the oven is at the correct temperature, the bread should have risen to just over the height of the pan. If it hasn't risen, give it some more time. (But do NOT over-proof).
6. Take off the plastic wrap and bake for 35 minutes, then gently rotate the pan to ensure even baking and bake for another 35 minutes. Shut the oven off an allow the bread to cool in the warm oven. Remove from the pan after 20 minutes and allow to cool completely at room temperature.
7. Do not cut the bread until it is completely cool. Wrap in plastic wrap and store at room temperature for up to 5 days (it will dry out over time) or freeze and take out servings to toast as needed.
 ...those who like to cook and those who like to bake. Notice that both of those include a preference, not an ability :)
I love being a baker. Love it. As an 80's baby, I dreamed of EZ Bake Ovens complete with endless supplies of colorful sprinkles and more flavors of cake than I could imagine. I dream a little bigger now, growing wide-eyed over gleaming red special anniversary Hobart mixers (the 60 quart ones) and stacked deck ovens that bake beautiful loaves of crusty bread, perfectly chewy cookies, and pies that could grace the cover of any foodie magazine.
What's that you say?? You can't bake? Nonsense. Given the right ingredients and tools, you can totally bake SOMETHING.
(Something far greater than pulling apart refrigerated dough to make cookies.)
I think the main reason why people think they can't bake is because they think baking and cooking are the same.
They. Are. Not.
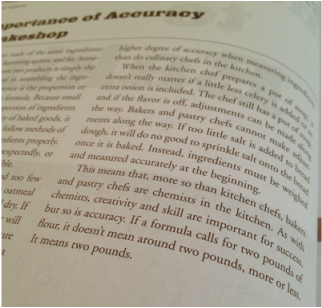
Throw that idea out the window. Baking is first a careful science and second a wild creativity. Cooking is awesome in that you can be creative AS you cook, changing your mind and adjusting seasonings and textures as you go. When you bake, if you don't begin with the right ingredients in the exact quantities, and mix them together in the right order with the right method, you will never get the results you hope to. (Many things require this precision!)
This is why I love baking. It's exact. It's particular. Dare I say stubborn? Maybe I like it so much because its so much like me :)
(The preciseness is also one of the dividing lines between those who love baking and those who love cooking.)
By all means, you can love cooking more than you love baking (some of my very best friends do, and I don't hold it against them!) But PLEASE, for the love of Pete, don't just like cooking more than baking because you think you can't bake.
Do me a favor and bake the formula (what bakers call recipes) below. Follow it exactly and I mean EXACTLY... and if you don't come out with amazingly delicious brownies, I will come to your house and bake them again with you. (For realz. with a Z.)
I am celebrating my 28th birthday later this year, and just yesterday I graduated (again). During the reading of a MASSIVE list of names of graduates like me, I was thinking about my life thus far, and about how I got to where I am now. So many different people have touched my life in so many different ways, to try and think of each person was a humbling and incredible moment (er.. several moments.. that list of names was indeed massive).
While I couldn't possibly begin to thank each one of those amazing people here (I want to be intentional in thanking you personally so you know how much I mean it, and it would take longer than reading the graduate list) I wanted to take just one moment (a little one) to show you all how much you mean to me.
That photo above is one of my "Gratitude" boxes (this is my RI box). I don't remember exactly when I started saving cards and notes that people gave me, but I know for sure I was young, as I have cards saved from my summers as a camper at Deer Run. I have shoe boxes (yes, multiple boxes!) full of cards from people who know me as a daughter, sister, friend, girlfriend, student, employee, teacher, acquaintance, and even some from total strangers (those are often hilarious). Some of these cards remind me of times that were happy, some remind me of times that were challenging, but they all point me to the fact that there are people in my life who love me and care for me, even at times when I feel alone. If you've ever given me a written note of any kind, chances are I've saved it. When I go through an organizational purge of my room, these gratitude boxes are the one thing I allow myself to keep intact. In fact, I will often quit organizing and spend the afternoon going through each box, thinking of how amazingly blessed I am and saying a prayer of thanks for the writer of each card in my box.
In closing, here is a passage from Philippians 1 (The Message version). It summarizes quite well how I feel about y'all.
"Every time you cross my mind, I break out in exclamations of thanks to God. Each exclamation is a trigger to prayer. I find myself praying for you with a glad heart."
I'll give you some hints: they are sweet and come in a multitude of flavors, can cause surprisingly strong feelings of either love or loathing, and have inspired television shows and competitions across the country (and globe). Still not sure?
You know fairy cakes by another name.... cupcakes! (Apparently "fairy cake" is a British term- I had to search on BBC just to be sure).
I made some cupcakes today, mini ones in fact. I don't like saying that mini foods are cute, but shoot, there's just no denying how cute these little guys are. Not to mention tasty. MMMM. All of this got me thinking, when was the first cupcake made? Who had the grand idea to make a personal-sized cake?
I took to the Internet to investigate. Alas, there aren't many scholarly journals out there dedicated to the history of cupcakes, so for today, Wikipedia is my primary source. (Fore warned is fore armed.)
Apparently, it all began with "a cake to be baked in small cups", from a recipe in American Cookery by Amelia Simmons, published in 1796. Just over 30 years later, another cookbook, this one with the term "cupcake" was published. (It was called Seventy-five Receipts for Pastry, Cakes, and Sweetmeats, by Eliza Leslie.) Interestingly, "cupcake" and "cup cake" did not mean the same thing. A "cup cake" meant a cake made with volume measurements of ingredients (i.e. cups), instead of ingredients measured by weight.
Not a whole lot happened in the life of the cupcake, except the advent of box mixes making them easier to make, so fast forward to the 21st century, and suddenly, cupcakes are it. All it took was one bite on Sex and the City (the episode aired in 2000, if you're wondering) and the cupcake trend exploded. Suddenly, bakeshops everywhere were selling cupcakes, some even only selling cupcakes. Crumbs Bake Shop, which got its start in 2003, went public last year, after netting $2.5 million in income in 2010. | What do YOU think?
Is the cupcake here to stay? Vote to the right, and be sure to check out the yummy photos below :) | |
 So this post is a little bit overdue... but better late than never! Lately, I've done a lot of experimenting with and reading about vegan baking, and most vegan baking recipes call for a egg replacer, such as those made by Bob's Red Mill or Ener-G. Both of those products are made of natural ingredients, such as starches and gums. However, the Bob's Red Mill egg replacer has wheat gluten in it, so it's unsuitable for gluten-free diets, and Ener-G can be difficult to get in smaller towns (although it is available for purchase online). Soooo.... this all led to me using flaxseed in the vegan whoopie pie recipe I found online here: Vegan Whoopie Pies. (The original recipe calls for Ener-G, and I did make some other changes, which I will post soon). You don't have to use the Vegan Whoopie Pie recipe; you can use any baking recipe that calls for eggs. As a word of caution... don't jump right into your favorite cake recipe, or something complex. Eggs are important for many reasons in baked goods, and without understanding how the eggs are functioning in the recipe you are using, it would be easy for the recipe to fail. (And obviously, you can't make a fried egg from flaxseed). Also, flaxseed adds an awesome, nutty flavor and a beautiful, brown speckled appearance to whatever you bake with it... so keep that in mind when choosing your recipes. Here are some of the functions of eggs: * Providing structure (mainly due to the proteins in the egg whites) * Emulsifying the ingredients (working like a glue to bind everything together) * Aerating the batter/dough so the final product is lighter * Flavor Now... when you take away eggs, you take away these important jobs of eggs. Here's where flaxseed comes in. What you'll need:- Ground flaxseed, or flaxseed meal; any brand should be fine, just don't get whole flaxseeds
- Water
- A small pot
- A stove
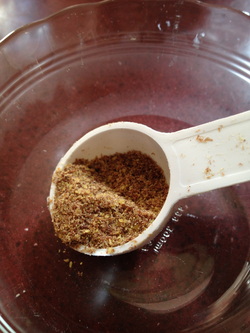
Method of Preparation: 1. Measure one tablespoon of flaxseed meal and three tablespoons of water into a small pot. 2. Simmer over low heat, stirring constantly, until the the water is absorbed and the flaxseed thickens. It should look like this:
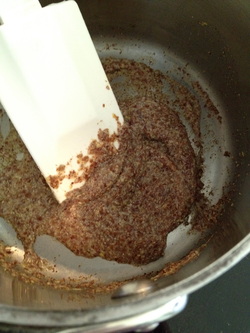 Once you have reached this gooey, glue-like consistency, you can remove the pot from the heat and transfer the "egg" to a new container. This way, it will stop cooking (the pot is still pretty hot even when you remove it from the heat), and you can put the pot in the sink with water to aid in cleaning it later. Trust me, you want to do this part immediately...flaxseed literally dries like super glue onto whatever surface it touches... and it doesn't come off easily.. even in a hot dishwasher!
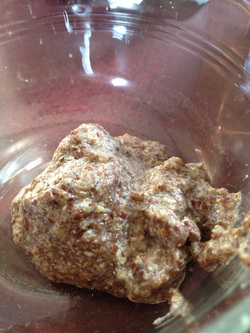 Congratulations! You've successfully made a vegan egg! You should end up with enough to replace one egg in a recipe. If you need more than one egg, simply increase the recipe, maintaining that 1:3 ratio. Remember that although flaxseed can mimic what an egg does, (and provide excellent nutritional benefits!) it has its own unique properties. The more eggs a recipe calls for, the less likely any egg substitute will be successful at replacing the eggs.
Try recipes! Have fun experimenting! Go bake! :)
(And tell me how it turns out!)
Fall used to be my least favorite season. I hated the sound of the crickets at night, signaling the end of another summer. I hated how night rushed in on day, growing more and more greedy as it made each day shorter than the last. I hated how everything seemed to slow down, as if trying to ward off the inevitable winter.
Now?
I love fall. I love everything about. It is stunningly beautiful and refreshing and exciting. One of my favorite lines from one of my favorite bands (Mumford and Sons) is "I'll know my name when its cold again". I feel alive again after the oppressive heat of summer.
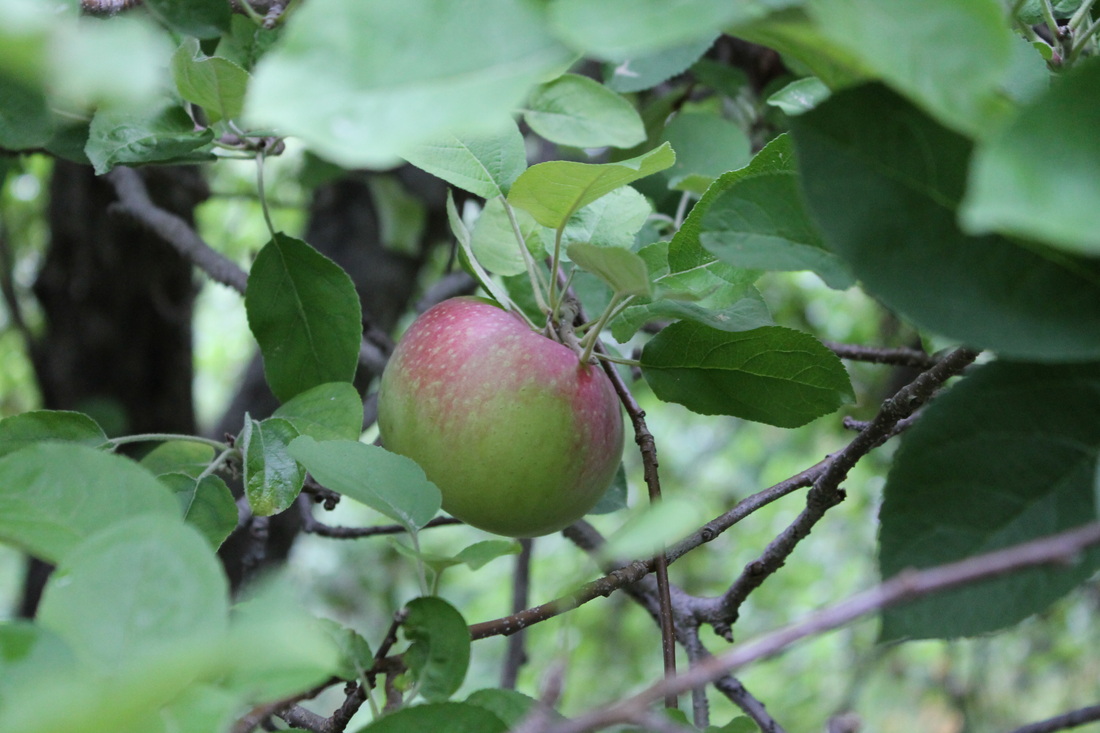
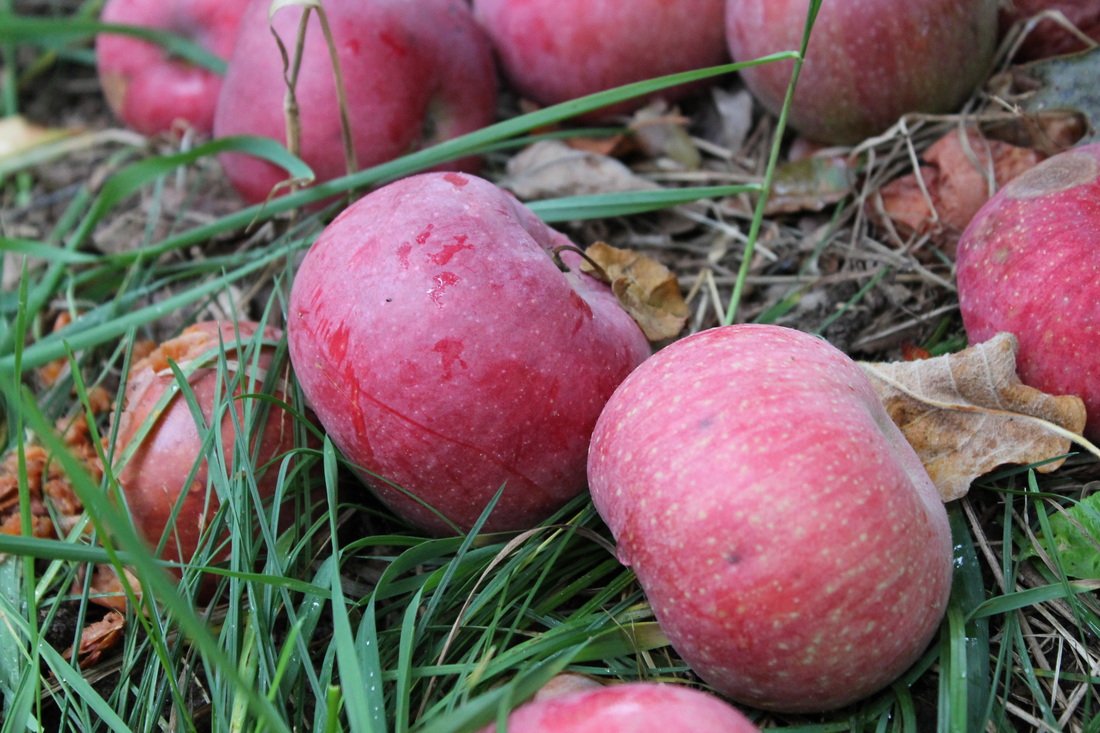
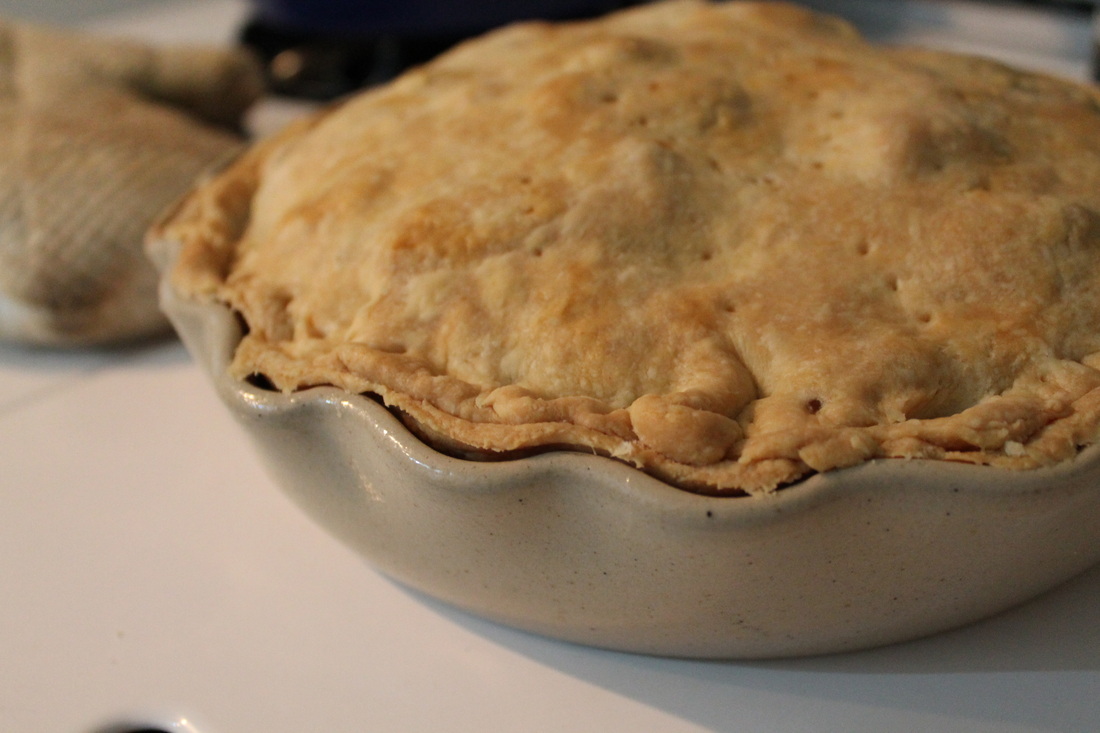
To celebrate the joy of fall, today I went apple picking. And baked a pie. It was lovely, so I decided to share it with you, and give you some apple-pie-making tips. 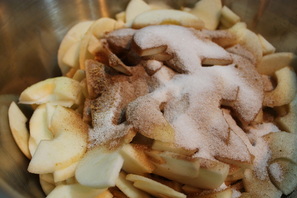 Tip #1
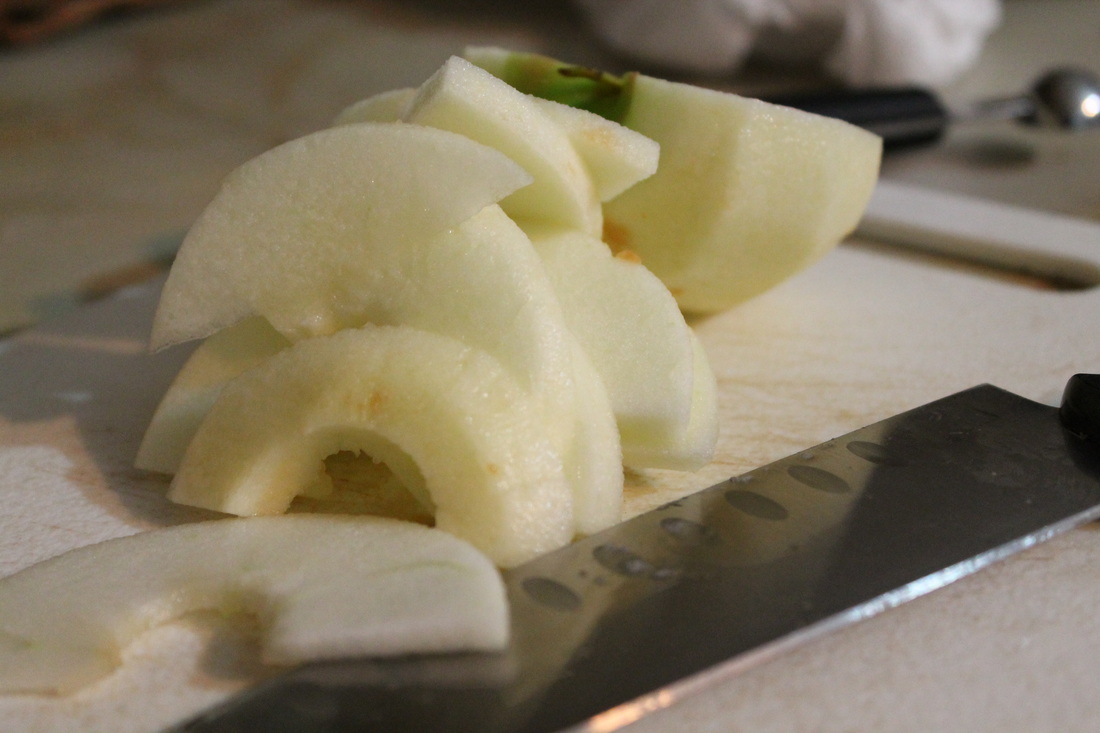
Let the sliced apples sit tossed with the sugar and spices in the fridge for at least 2 hours. This allows the apple juice to "drain" from the apples. Trust me on this, you actually don't want all that juice in your pie... it makes the crust soggy. Gross.
 Tip #2
Use COLD butter (or shortening) and COLD water (as cold as you can get it!) This helps make the crust flaky. When the butter is cold, it doesn't completely mix in with the flour. As the dough bakes, that separation between the fat and the flour allows layers to form, resulting in a flaky crust. Using cold water helps the butter stay cold even as your hands heat it up.
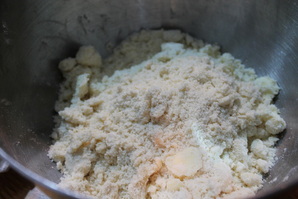 Tip #3
Mix the dough with your hands. When you "cut" butter into flour, the best way to do it is press any large pieces of butter between your fingers to flatten the out a bit, then rub one hand against the other, pressing them together. Kind of like trying to start a fire with sticks, only instead of rubbing your hands back and forth, you just rub in one direction. Your goal is to make flat shards of butter, about a nickel in size. When you add the water, toss the flour/butter mixture up from the sides and gently bring all the ingredients together.
| Award-Winning Apple Pie
(It's true... this recipe really has won first place!)
Ingredients:
Filling
6-8 medium apples (I like to use what's in season)
2/3 c (about 100g) granulated sugar
1 tsp cinnamon
1/2 tsp allspice
1/2 nutmeg
1 tbs flour
Crust (makes enough for a top and bottom crust)
8 oz flour
5.2 oz unsalted butter or vegetable shortening
2.3 oz ice cold water
1 tsp salt
Method of Preparation:
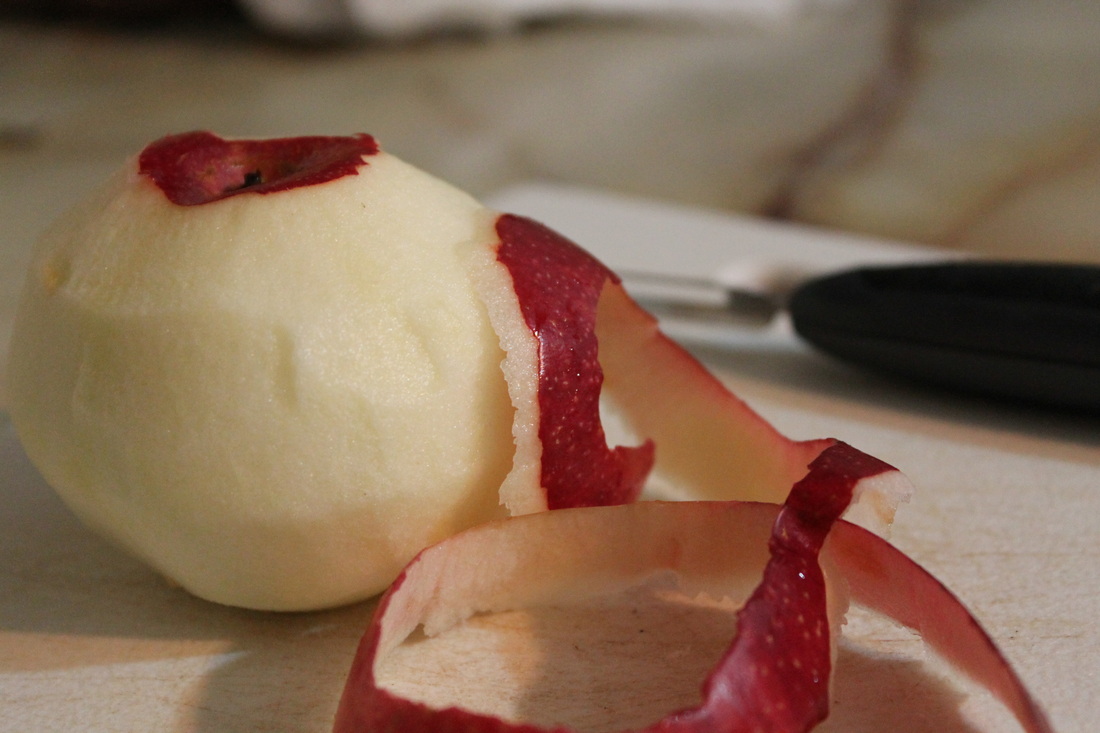
1. Get everything together! Peel and slice the apples, put some the salt in the water, then into in the freezer, make sure your butter or shortening is in the fridge and get out a pie dish or plate.
2. Place the sliced apples in a large bowl. Mix the sugar and spices together, then toss the apples with the mixture so they are evenly coated. Cover and place the fridge for several hours.
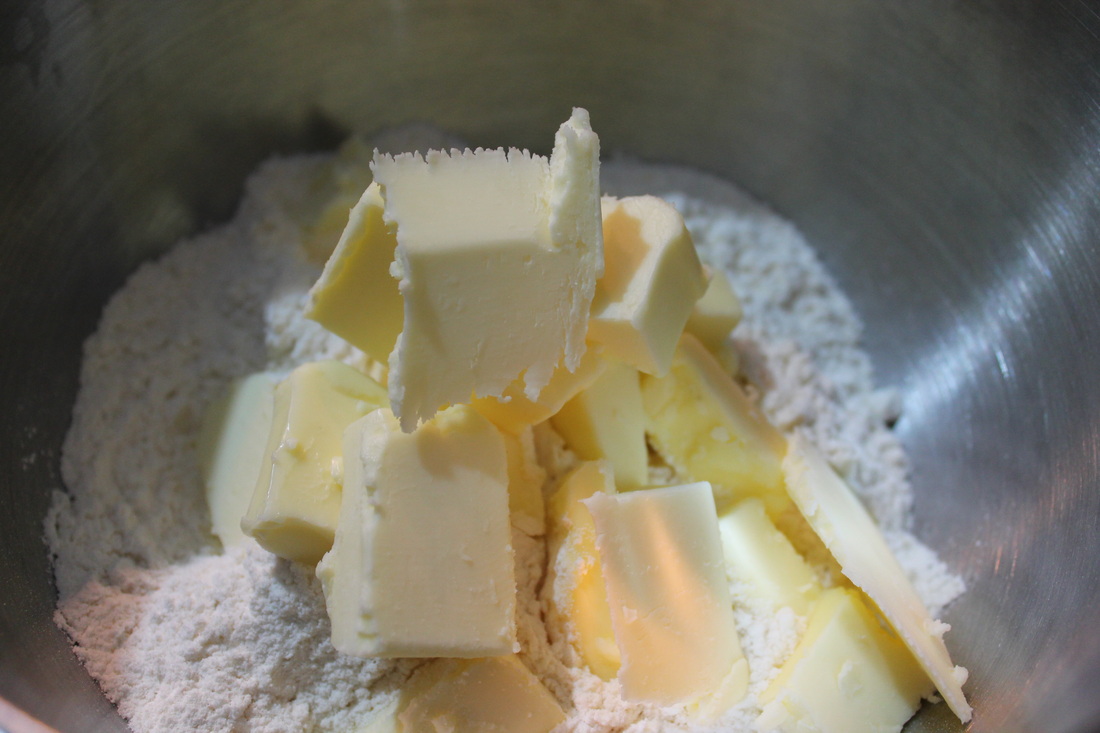
3. (Make the crust.) Measure the flour into a medium bowl. Cut the cold butter or shortening into small cubes (they don't have to be exact).
4. Place the cold butter cubes on top of the flour and use your hands to "cut" the butter into the flour.
5. Make a well; pour the ice cold water in it. Use your hands to bring together the flour and water, mix just until the ingredients stick together. Divide dough in half, loosely form each half into a disk, wrap separately and put in the fridge.
6. Preheat the oven to 350 degrees; when it's at temperature, take out the dough and roll out one disk to fit the bottom of the pan. Place the dough in the pan.
7. Lift apple slices from the bowl (do not just pour over the dough) and arrange evenly to fill pie. Dot the apples with a few pieces of butter.
8. Roll out the remaining dough, then place over the top of the filling. Trim and seal the crust, and use a fork to pierce steam vents in the top crust.
9. Bake at 350 for approximately 1 hour. |
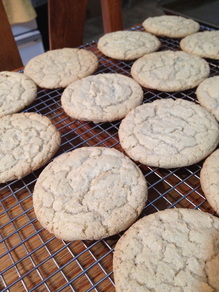 Mmmm there is nothing quite like a sugar cookie. Every so slightly crisp on the outside, perfectly chewy on the inside. With so few ingredients, how can such a relatively simple recipe end up with hard, snappy cookies? Easily, that's how. There's about a million ways your sugar cookies could end up in the land of cookie doom. But hopefully, after reading this post, you'll know what not to do to ensure your next batch of cookies turn out juuuuuust right.
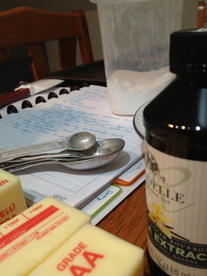 First things first. The most important rule of all is... mise. en. place. Quite literally, this means "set in place". In regards to cooking or baking, it means having every ingredient scaled (measured out in the amount you need), having all of your tools and equipment ready (like making sure you preheat the oven!) and reading through the recipe in its entirely before you being mixing anything. Mise en place saves you a boat load of trouble later on, plus it just sounds really cool.
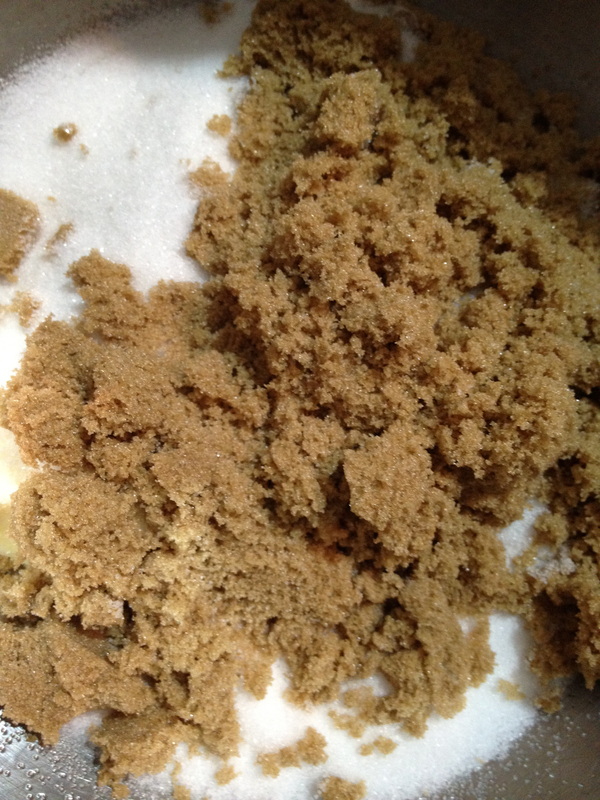
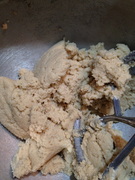
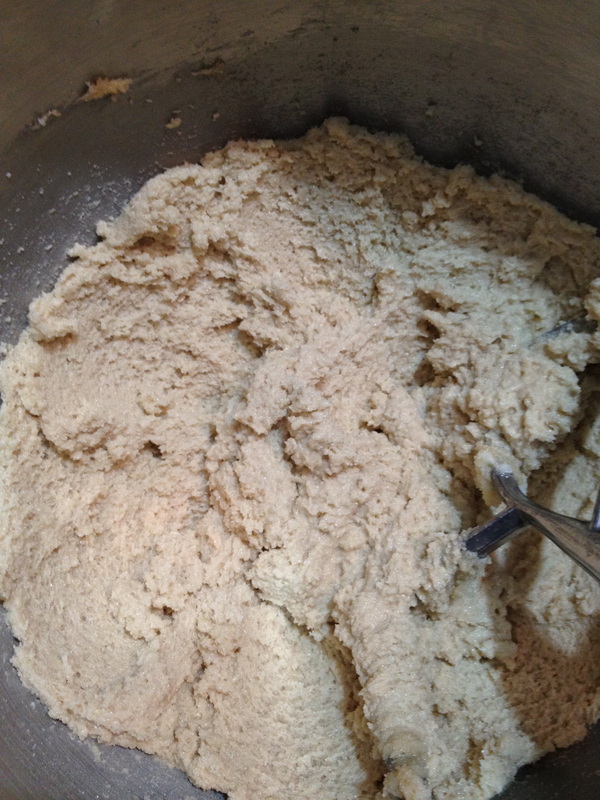
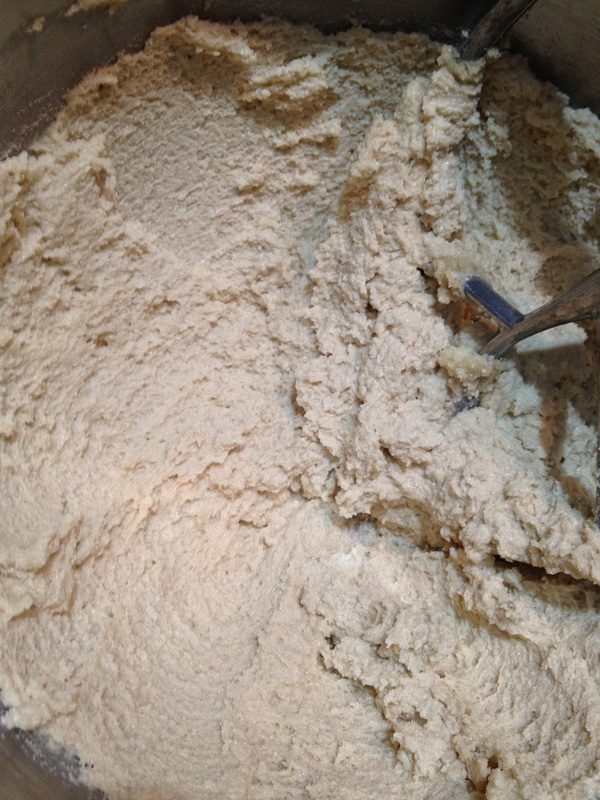
Most cookie recipes use what is known as "the creaming method". This means you take your fats (typically butter) and your sugars, and blend them together on medium speed until they are light and fluffy. Two things are vital to get this step right. First: your fat needs to be soft, but still able to hold its shape. I suggest you take your butter out an hour or two before you plan to bake. But, if you forget... DO NOT MICROWAVE ALL AT ONCE. Yes, I had to capitalize that. Microwaves do not melt butter evenly, and you will have some liquid butter and some that is still rock hard. If you must microwave, chop the butter into even chunks, place in a microwave safe bowl, and microwave for 10 second intervals until the butter is soft. Melting the butter will cause your cookies to spread thin and cook quickly, making them thin and crispy (which is fine if you want them this way, but not if you don't). Second: make sure you cream for long enough. One or two minutes really is not long enough. Check out the photos below to see the progression in color and texture.
| Chewy Sugar Cookies
Ingredients:
2 3/4 c all-purpose flour
1 tsp baking soda
1/2 tsp salt
6 oz butter (softened)
1 1/2 c granulated sugar
1/2 c packed brown sugar
2 eggs (room temperature)
2 tsp vanilla extract
Method of Preparation:
1. Scale all of the ingredients and gather all of the equipment.
2. Sift the flour and baking soda together into a medium bowl; sprinkle the salt on top. Set aside
3. Cream the butter and sugars on medium speed for 5-7 minutes, or until lightened in color and fluffy in texture.
4. Scrape down the bowl, then add the room temperature eggs, one at a time. Scrape the bowl down after each egg.
5. Add the vanilla extract and mix till incorporated.
6. Add the flour all at once, and pulse until just blended. Do not over-mix.
7. Use a cookie scoop to scoop and drop cookie dough onto parchment-lined sheet pans.
8. Bake in a 350 oven for about 8-10 minutes, rotating the pans halfway through.
9. Cool on the trays for 1-2 minutes, then remove and cool on wire rack.
| After the butter and sugar are creamed, add the eggs, one at a time, and be sure to scrape the bowl down after each egg. Scraping the bowl is super important, as it ensures that all of your ingredients are evenly mixed. You don't want to be left with pockets of butter, or sugar or egg when you begin scooping out cookies.
An important thing to keep in mind is having all your ingredients be close to the same temperature. Let your eggs warm up with your butter, and they will be so much happier than if you try to mix them in right out of the fridge.
DO NOT SKIP SIFTING THE FLOUR AND BAKING SODA. Yes, this needed capital letters too. Sifting makes sure that you do not end up with little balls of baking soda in your cookies (these are a horrible surprise). It also gets rid of any flour lumps (another nasty surprise), and allows the flour to absorb moisture more quickly so you don't over-mix the dough.
Finally, invest in some cookie scoops (like ice cream scoops only smaller), some sturdy cookie pans, and if you really want to take your baking to the top, some Slipats (check them out on Amazon). Cookie scoops make sure all of your cookies are the same size... and really, they look fantastic when they are. Sturdy cookie pans allow your cookies to bake evenly, especially when you use Silpats too. I could go on and on about Silpats, and in fact, I may just do a whole post devoted to them!
Well there you have it! Try out the cookie recipe and let me know how it goes!
|


 RSS Feed