
| 
| 
| 
|
Fall used to be my least favorite season. I hated the sound of the crickets at night, signaling the end of another summer. I hated how night rushed in on day, growing more and more greedy as it made each day shorter than the last. I hated how everything seemed to slow down, as if trying to ward off the inevitable winter.
Now?
I love fall. I love everything about. It is stunningly beautiful and refreshing and exciting. One of my favorite lines from one of my favorite bands (Mumford and Sons) is "I'll know my name when its cold again". I feel alive again after the oppressive heat of summer.
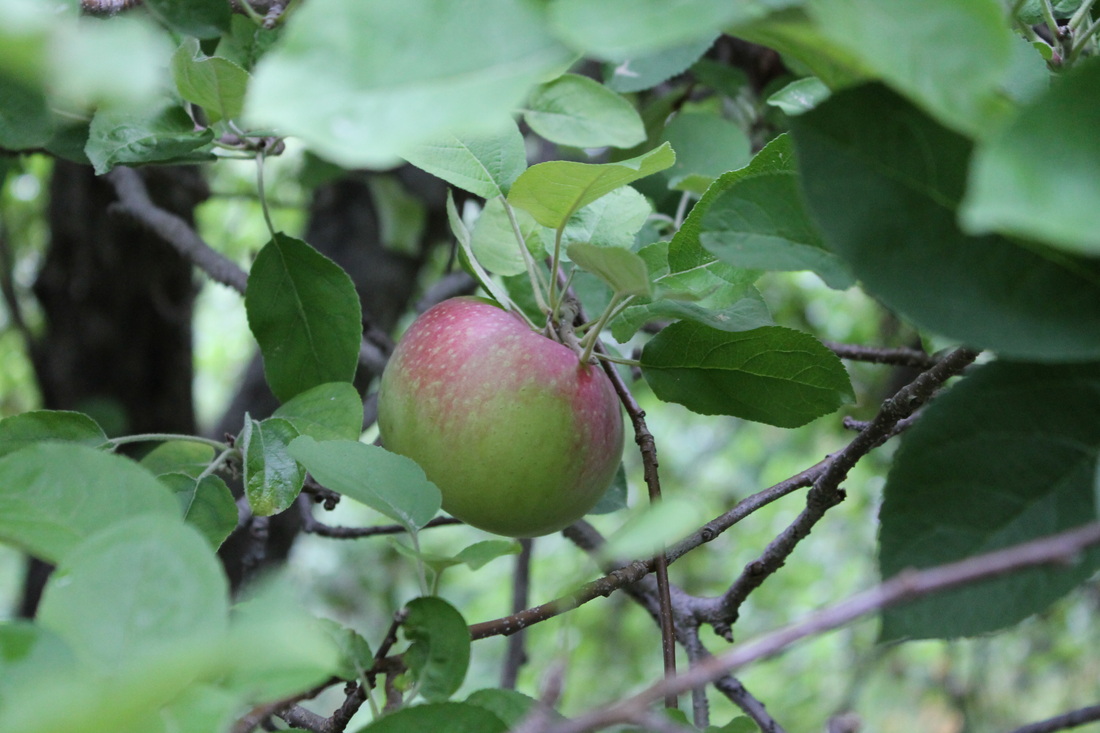
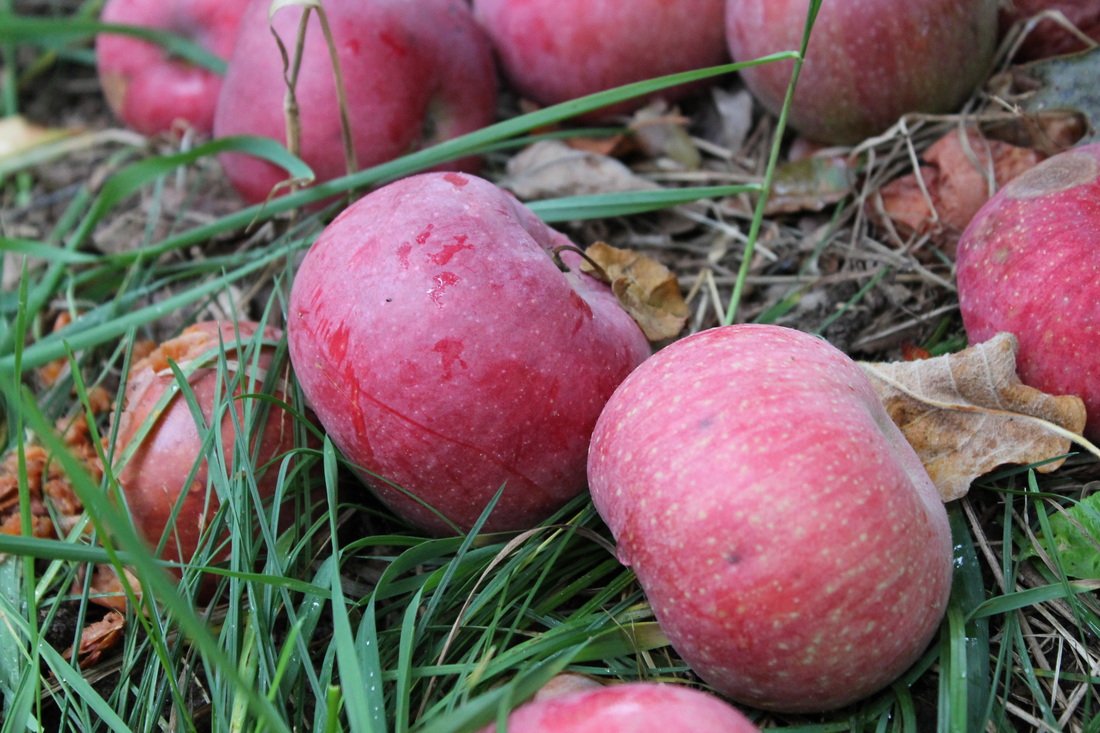
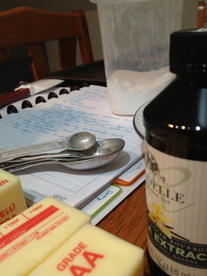
To celebrate the joy of fall, today I went apple picking. And baked a pie. It was lovely, so I decided to share it with you, and give you some apple-pie-making tips.
Now?
I love fall. I love everything about. It is stunningly beautiful and refreshing and exciting. One of my favorite lines from one of my favorite bands (Mumford and Sons) is "I'll know my name when its cold again". I feel alive again after the oppressive heat of summer.
To celebrate the joy of fall, today I went apple picking. And baked a pie. It was lovely, so I decided to share it with you, and give you some apple-pie-making tips.
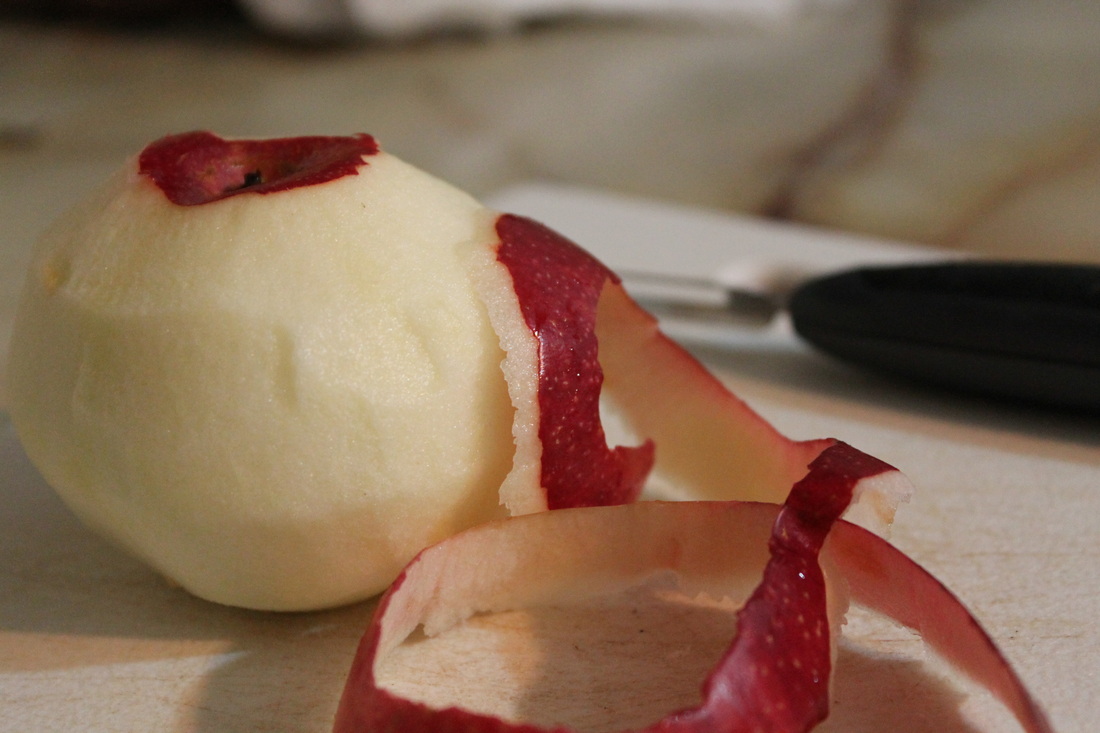
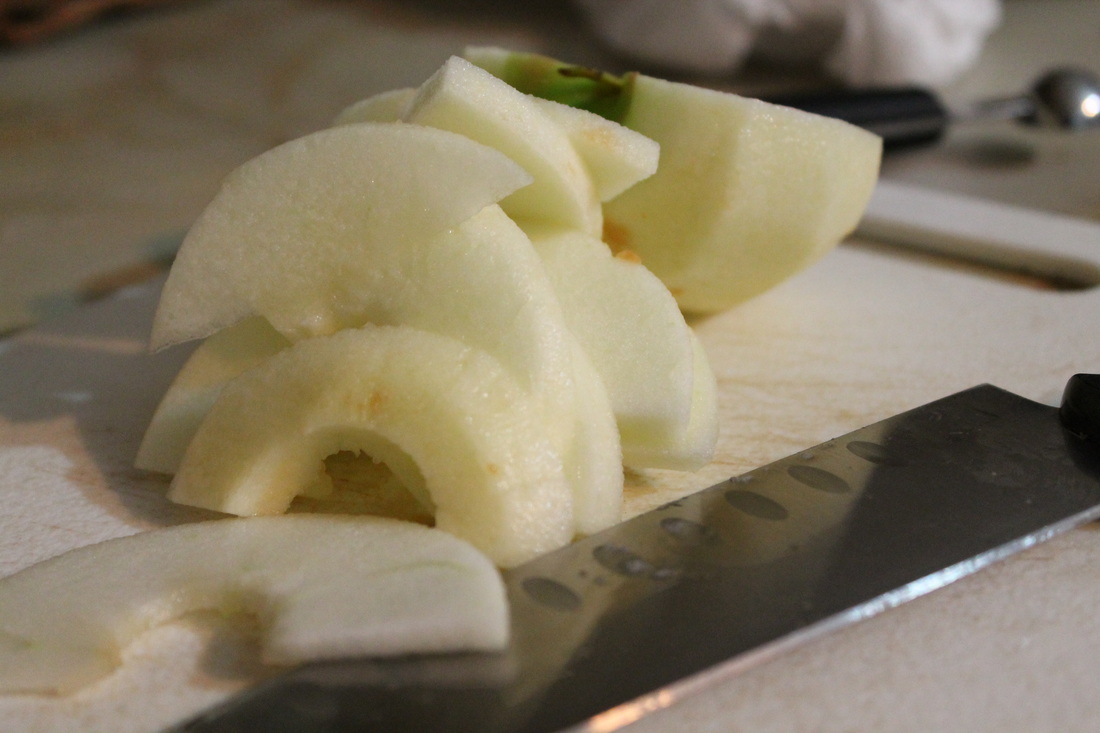
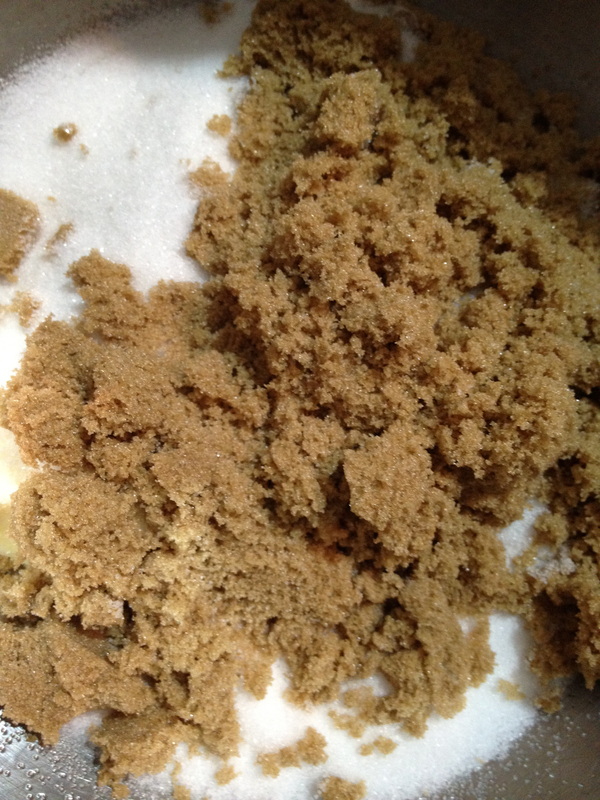
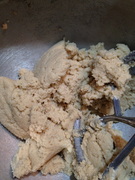
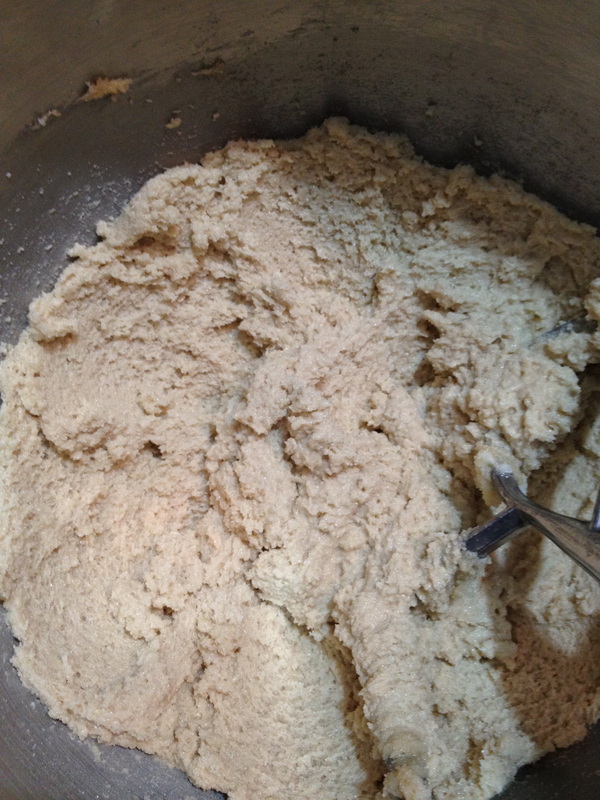
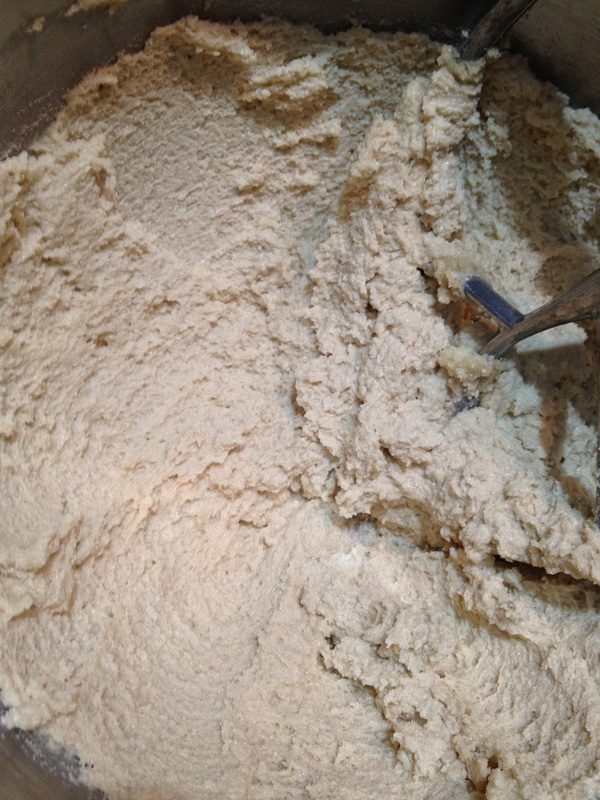
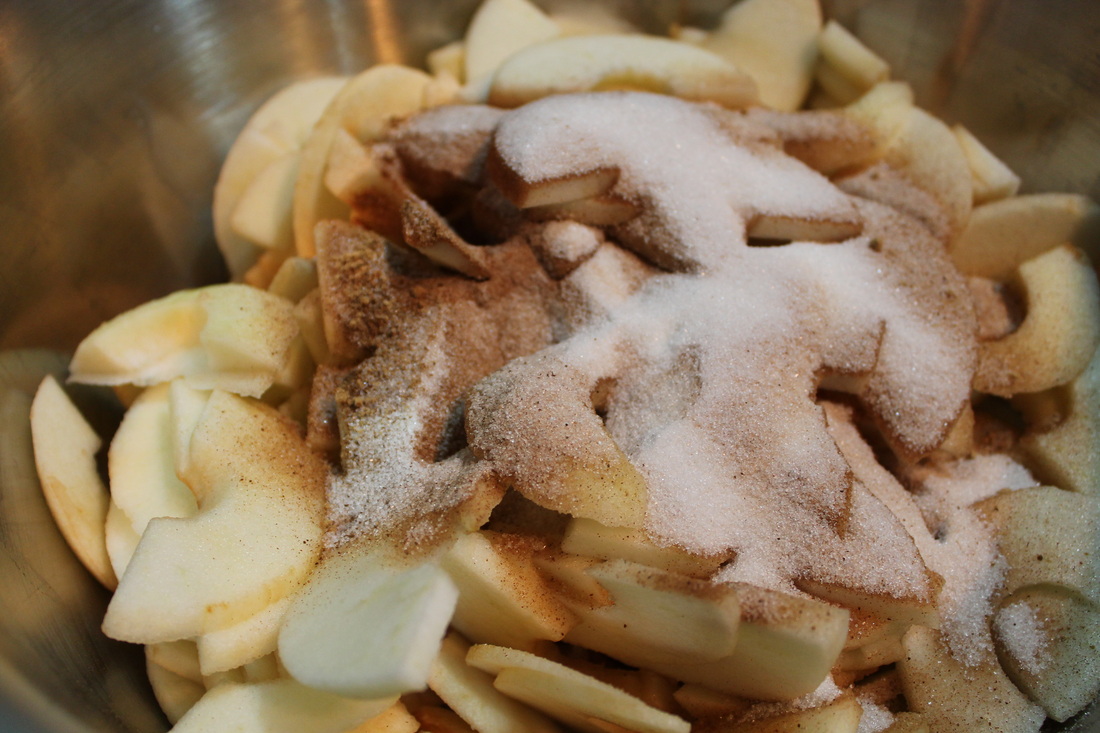 Tip #1 Let the sliced apples sit tossed with the sugar and spices in the fridge for at least 2 hours. This allows the apple juice to "drain" from the apples. Trust me on this, you actually don't want all that juice in your pie... it makes the crust soggy. Gross. 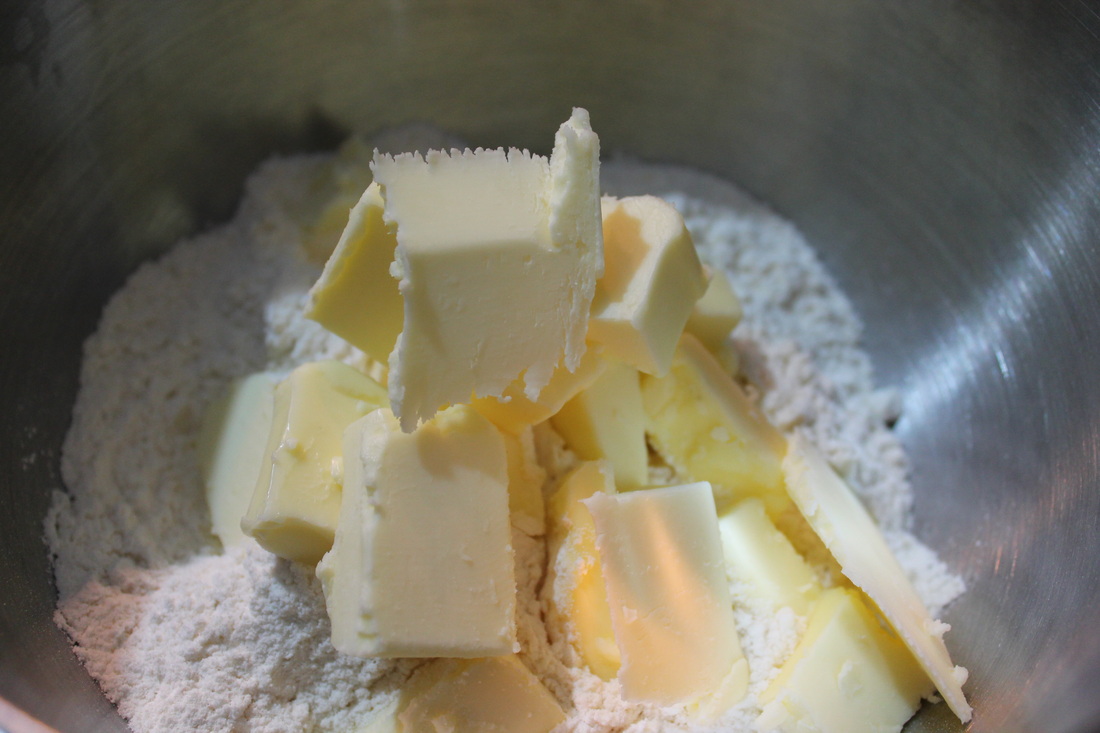 Tip #2 Use COLD butter (or shortening) and COLD water (as cold as you can get it!) This helps make the crust flaky. When the butter is cold, it doesn't completely mix in with the flour. As the dough bakes, that separation between the fat and the flour allows layers to form, resulting in a flaky crust. Using cold water helps the butter stay cold even as your hands heat it up.  Tip #3 Mix the dough with your hands. When you "cut" butter into flour, the best way to do it is press any large pieces of butter between your fingers to flatten the out a bit, then rub one hand against the other, pressing them together. Kind of like trying to start a fire with sticks, only instead of rubbing your hands back and forth, you just rub in one direction. Your goal is to make flat shards of butter, about a nickel in size. When you add the water, toss the flour/butter mixture up from the sides and gently bring all the ingredients together. | Award-Winning Apple Pie (It's true... this recipe really has won first place!) Ingredients: Filling 6-8 medium apples (I like to use what's in season) 2/3 c (about 100g) granulated sugar 1 tsp cinnamon 1/2 tsp allspice 1/2 nutmeg 1 tbs flour Crust (makes enough for a top and bottom crust) 8 oz flour 5.2 oz unsalted butter or vegetable shortening 2.3 oz ice cold water 1 tsp salt Method of Preparation: 1. Get everything together! Peel and slice the apples, put some the salt in the water, then into in the freezer, make sure your butter or shortening is in the fridge and get out a pie dish or plate. 2. Place the sliced apples in a large bowl. Mix the sugar and spices together, then toss the apples with the mixture so they are evenly coated. Cover and place the fridge for several hours. 3. (Make the crust.) Measure the flour into a medium bowl. Cut the cold butter or shortening into small cubes (they don't have to be exact). 4. Place the cold butter cubes on top of the flour and use your hands to "cut" the butter into the flour. 5. Make a well; pour the ice cold water in it. Use your hands to bring together the flour and water, mix just until the ingredients stick together. Divide dough in half, loosely form each half into a disk, wrap separately and put in the fridge. 6. Preheat the oven to 350 degrees; when it's at temperature, take out the dough and roll out one disk to fit the bottom of the pan. Place the dough in the pan. 7. Lift apple slices from the bowl (do not just pour over the dough) and arrange evenly to fill pie. Dot the apples with a few pieces of butter. 8. Roll out the remaining dough, then place over the top of the filling. Trim and seal the crust, and use a fork to pierce steam vents in the top crust. 9. Bake at 350 for approximately 1 hour. 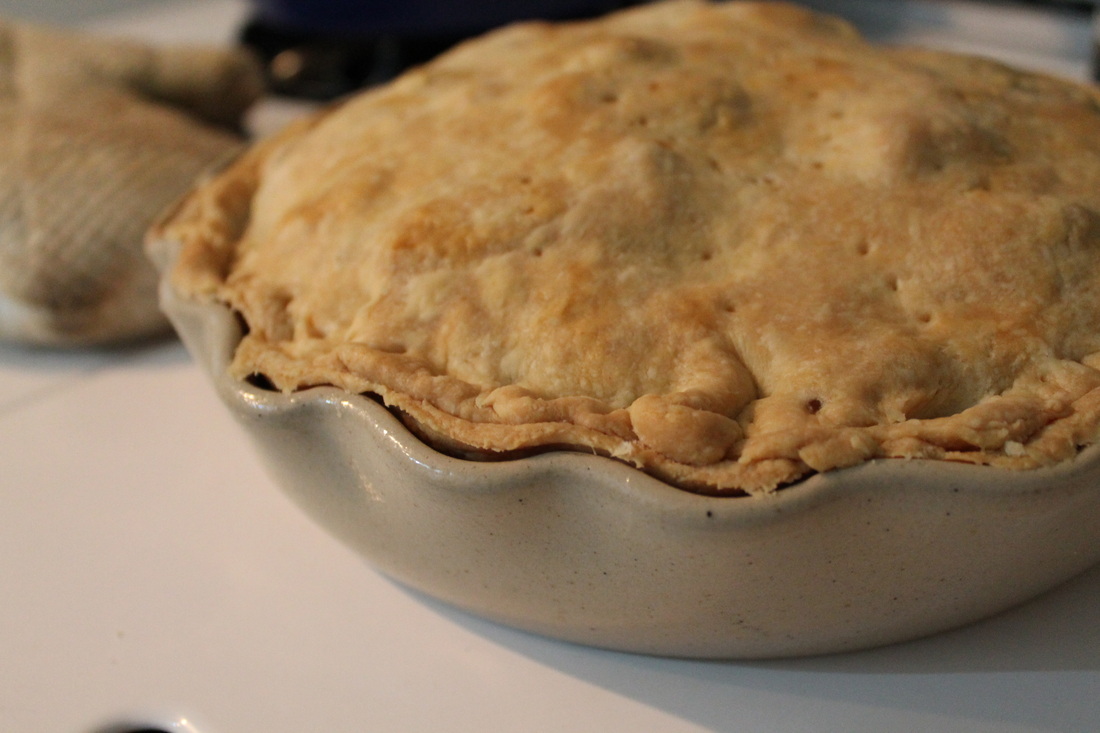
|
 RSS Feed
